Getting nails done was never really my thing. I know, ironic considering I love beauty. I got them done on special occasions once in a while but could never commit to it every month, my nails easily get damaged plus it can get too costly. I always preferred to paint my nails at home but progressively over time, I realise that your standard nail polishes don’t cut it anymore. They just don’t last as long and chip or come off within a week. It was time I ventured out and tried something different.
I first came across this brand via Facebook ads. Yep, that marketing tactic does get you. It kept popping up every time I scrolled. After a while, I decided to look into Dashing Diva and noticed that it was coming from an Australian website (which meant fast domestic shipping and not to get confused that the gloss range I received is made in Korea). I had also heard of this brand before so I knew they were pretty popular around the world. Reading further, the method of application was what hooked me next – that it was easy. I thought ok great, I don’t have hours to spare just to do my nails so eventually I thought why not? Let’s give these a go.
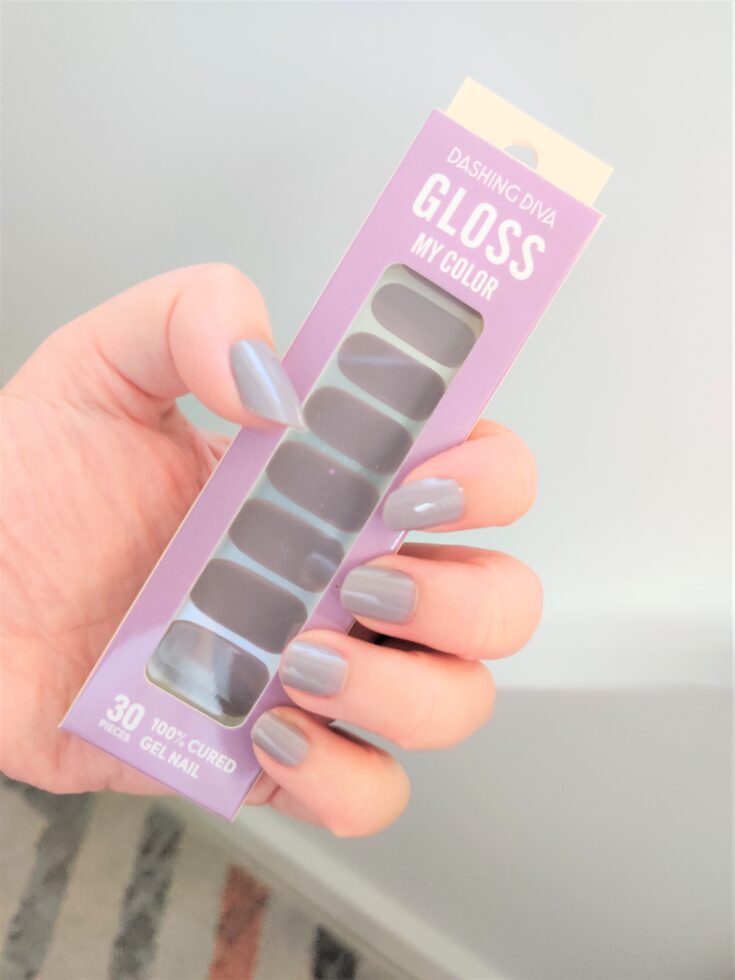
I picked up 2 sets from their Gloss range to try in colours Cassis and Milky Lilac.
Application:
In hindsight, it’s actually very easy. Literally after prepping your nails, you just choose whichever strip fits to the size of your nail, peel, stick then file off the excess. Repeat for each nail and that’s it! This particular range is designed so that you don’t need to use an LED lamp to cure as the nail strips come 100% cured already. There are 30 pieces of gel nail strips in each pack so you have plenty to last you or keep for emergency backups should one randomly pop off.
If you’ve done this before and are familiar with the process, it should take you maybe half an hour tops from prepping your nails to finish. This is my first ever nail strip experience so a) it took me longer than half an hour to apply and b) my review here will be from a new user experience.
Choosing the strip to fit your nail was easy. They do recommend to go a size down if you can’t find a size that fits as the strips are very flexible and can stretch. Maybe I haven’t got this technique down pat yet so I preferred to choose a size that fit as close as possible to the width of my nails without needing to stretch anything out. If I really can’t find one, then yes ok, I’ll scale down and either try to stretch it out or live with a bit of a gap. You definitely don’t want to size up as the excess will cause the strip to lift around the edges resulting in them not lasting as long as they can be.
Once you’ve chosen a strip, sticking it down was easy too. Initially the only tricky part was getting it to align evenly but after a few goes, you get the hang of it pretty quickly.
Filing – The enclosed instructions say to fold and tuck the excess under your nail tip and then file the ends of your nail from side to side until the strip comes off. I found it easier to file your nails up and down perpendicular to your nails to cut the strip off faster as opposed to filing side to side. You also had to be careful not to pull on the strip too hard at the tip as you’re filing otherwise you may end up filing a smidge too much and the strip will end up falling a little short to your actual nail giving it a chipped nail look, which then to rectify you’ll need to file your nail back down to size to even it out. Mouthful I know, but I hope that made sense!
When you’re done, make sure you firmly press down the strip to your nails (especially at the tip) to make sure it really sticks and won’t lift up easily.

Observations:
Waking up the next morning, I found that a few nail tips had lifted whilst I was sleeping. It may very well be that I hadn’t pressed on the strip firmly enough on application resulting in the lift so to help prolong their lasting power, I applied a clear top coat hoping they’d stick the tips to my nails. It worked well however over the course of the week, cracks did appear in the top coat which left behind visible crack marks. For my second attempt, I might skip the top coat and see how that goes.
With normal nail polish, half of them usually peel off after my first shower, but these survived! No lifting either whatsoever.
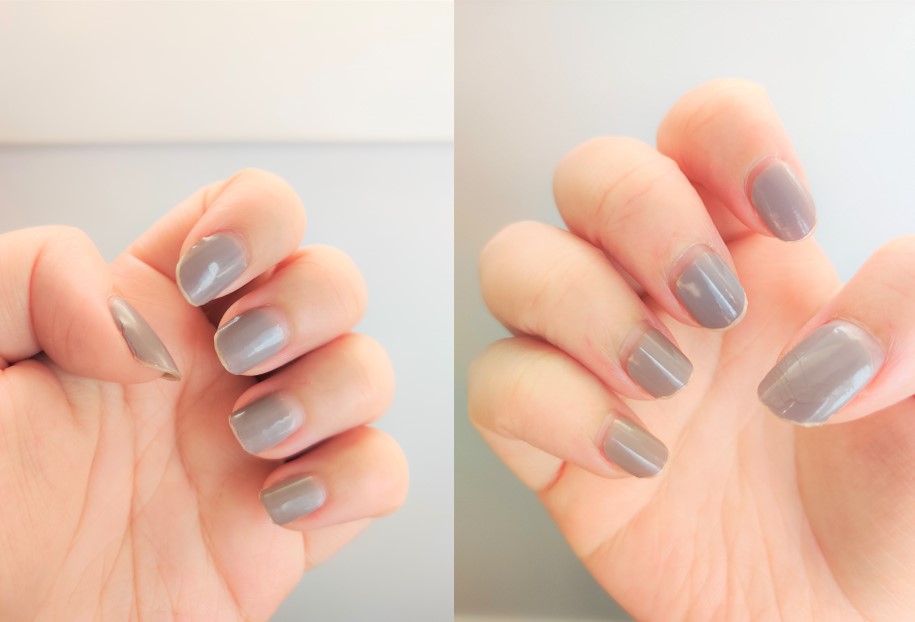
Here’s what my nails looked like by the end of the second week. The tips were chipping, the edge of some nails were starting to lift and cracks were appearing in the nails where I had applied a top coat over. As a whole though, they were all still mainly intact and going strong.

Thoughts:
✔ Easy and quick to apply – very user friendly and suitable for beginners. No LED required to cure or applying multiple layers of polish and powder. Once you get the hang of it, it can probably take you up to half an hour, maybe even one hour to apply (from prepping your nails to finish).
✔ No drying time – No need to wait for nails to dry either which I love! Once they’re on, you’re set!
✔ Affordable – Good looking nails without breaking the bank. Dashing Diva often have sales on their website which means you can experiment and play around with colours without going broke.
✔ Long lasting – These last much longer than your regular nail polish so anything past a few days to a week is a win for me! I had these on for about 4 weeks and they were still going strong! None had peeled off (although my nails did look chipped and my nail growth was showing).
✔ Easy to remove – There’s nothing worse than a set of nails that take forever or is a hassle to come off. Add a touch of cuticle oil to your nails and with a gently push, they peel right off.
✔ Doesn’t damage your nails – After removing the strips, my natural nails underneath remained perfectly healthy and undamaged.
X Chipped tips – Over the week, these nails tend to wear off at the tips so if that’s something that will bug you, I imagine dip powder nails will give a more long lasting wear.
Overall, I really liked these nails and will be purchasing more to try.
Leave a Reply